- Project worked on from
- Feb - Jul 2021
The Garden Room Construction
How It started
I’d been wanting a proper space to work on electronics for a while — somewhere I could set up tools, store parts, and work without having to pack everything away at the end of the day.
At the same time, we were planning a major renovation of our house, which meant new wiring throughout. I had the idea to design my own smart home system (check it our here), but I didn’t want my first attempt to be on the actual house.
The solution was simple: build a separate space in the garden where I could both work on projects and test my home automation system before scalling it up.
Planning, Design and Funding
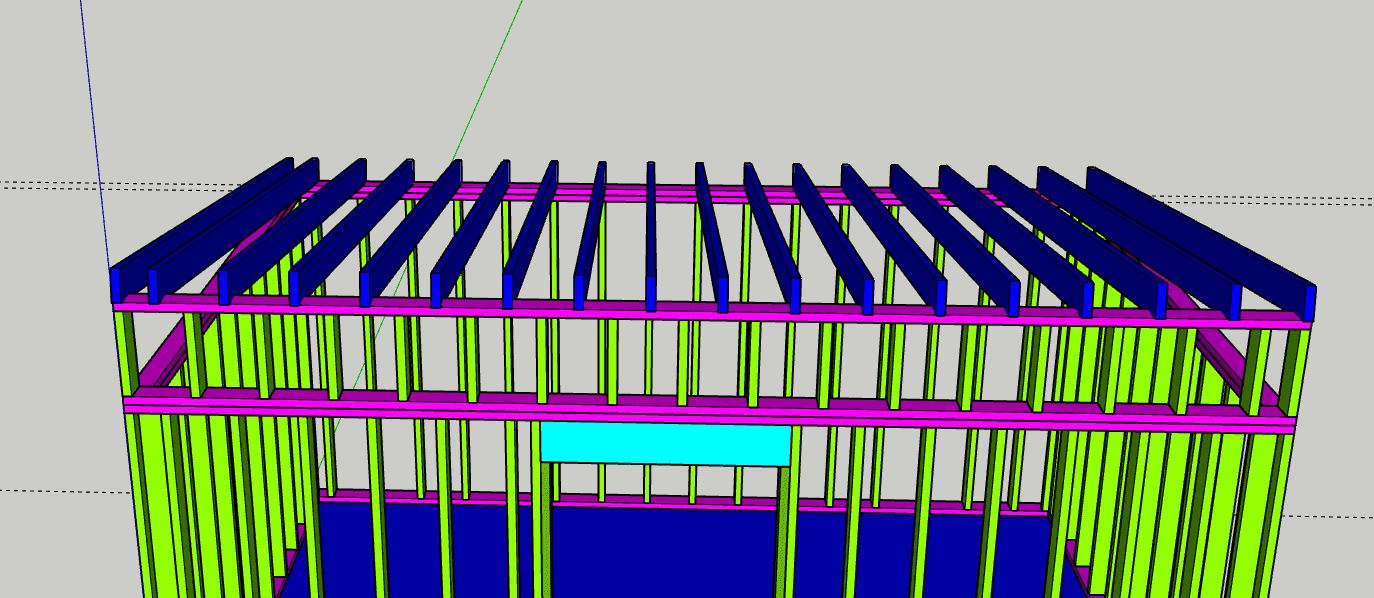
I started by creating the full design in CAD. This let me work out dimensions, materials, and where wiring and insulation would go before I touched any tools.
Once I had the full design ready, I pitched the idea to my parents for funding, and somehow managed to convince them to back a 14-year-old’s construction project.
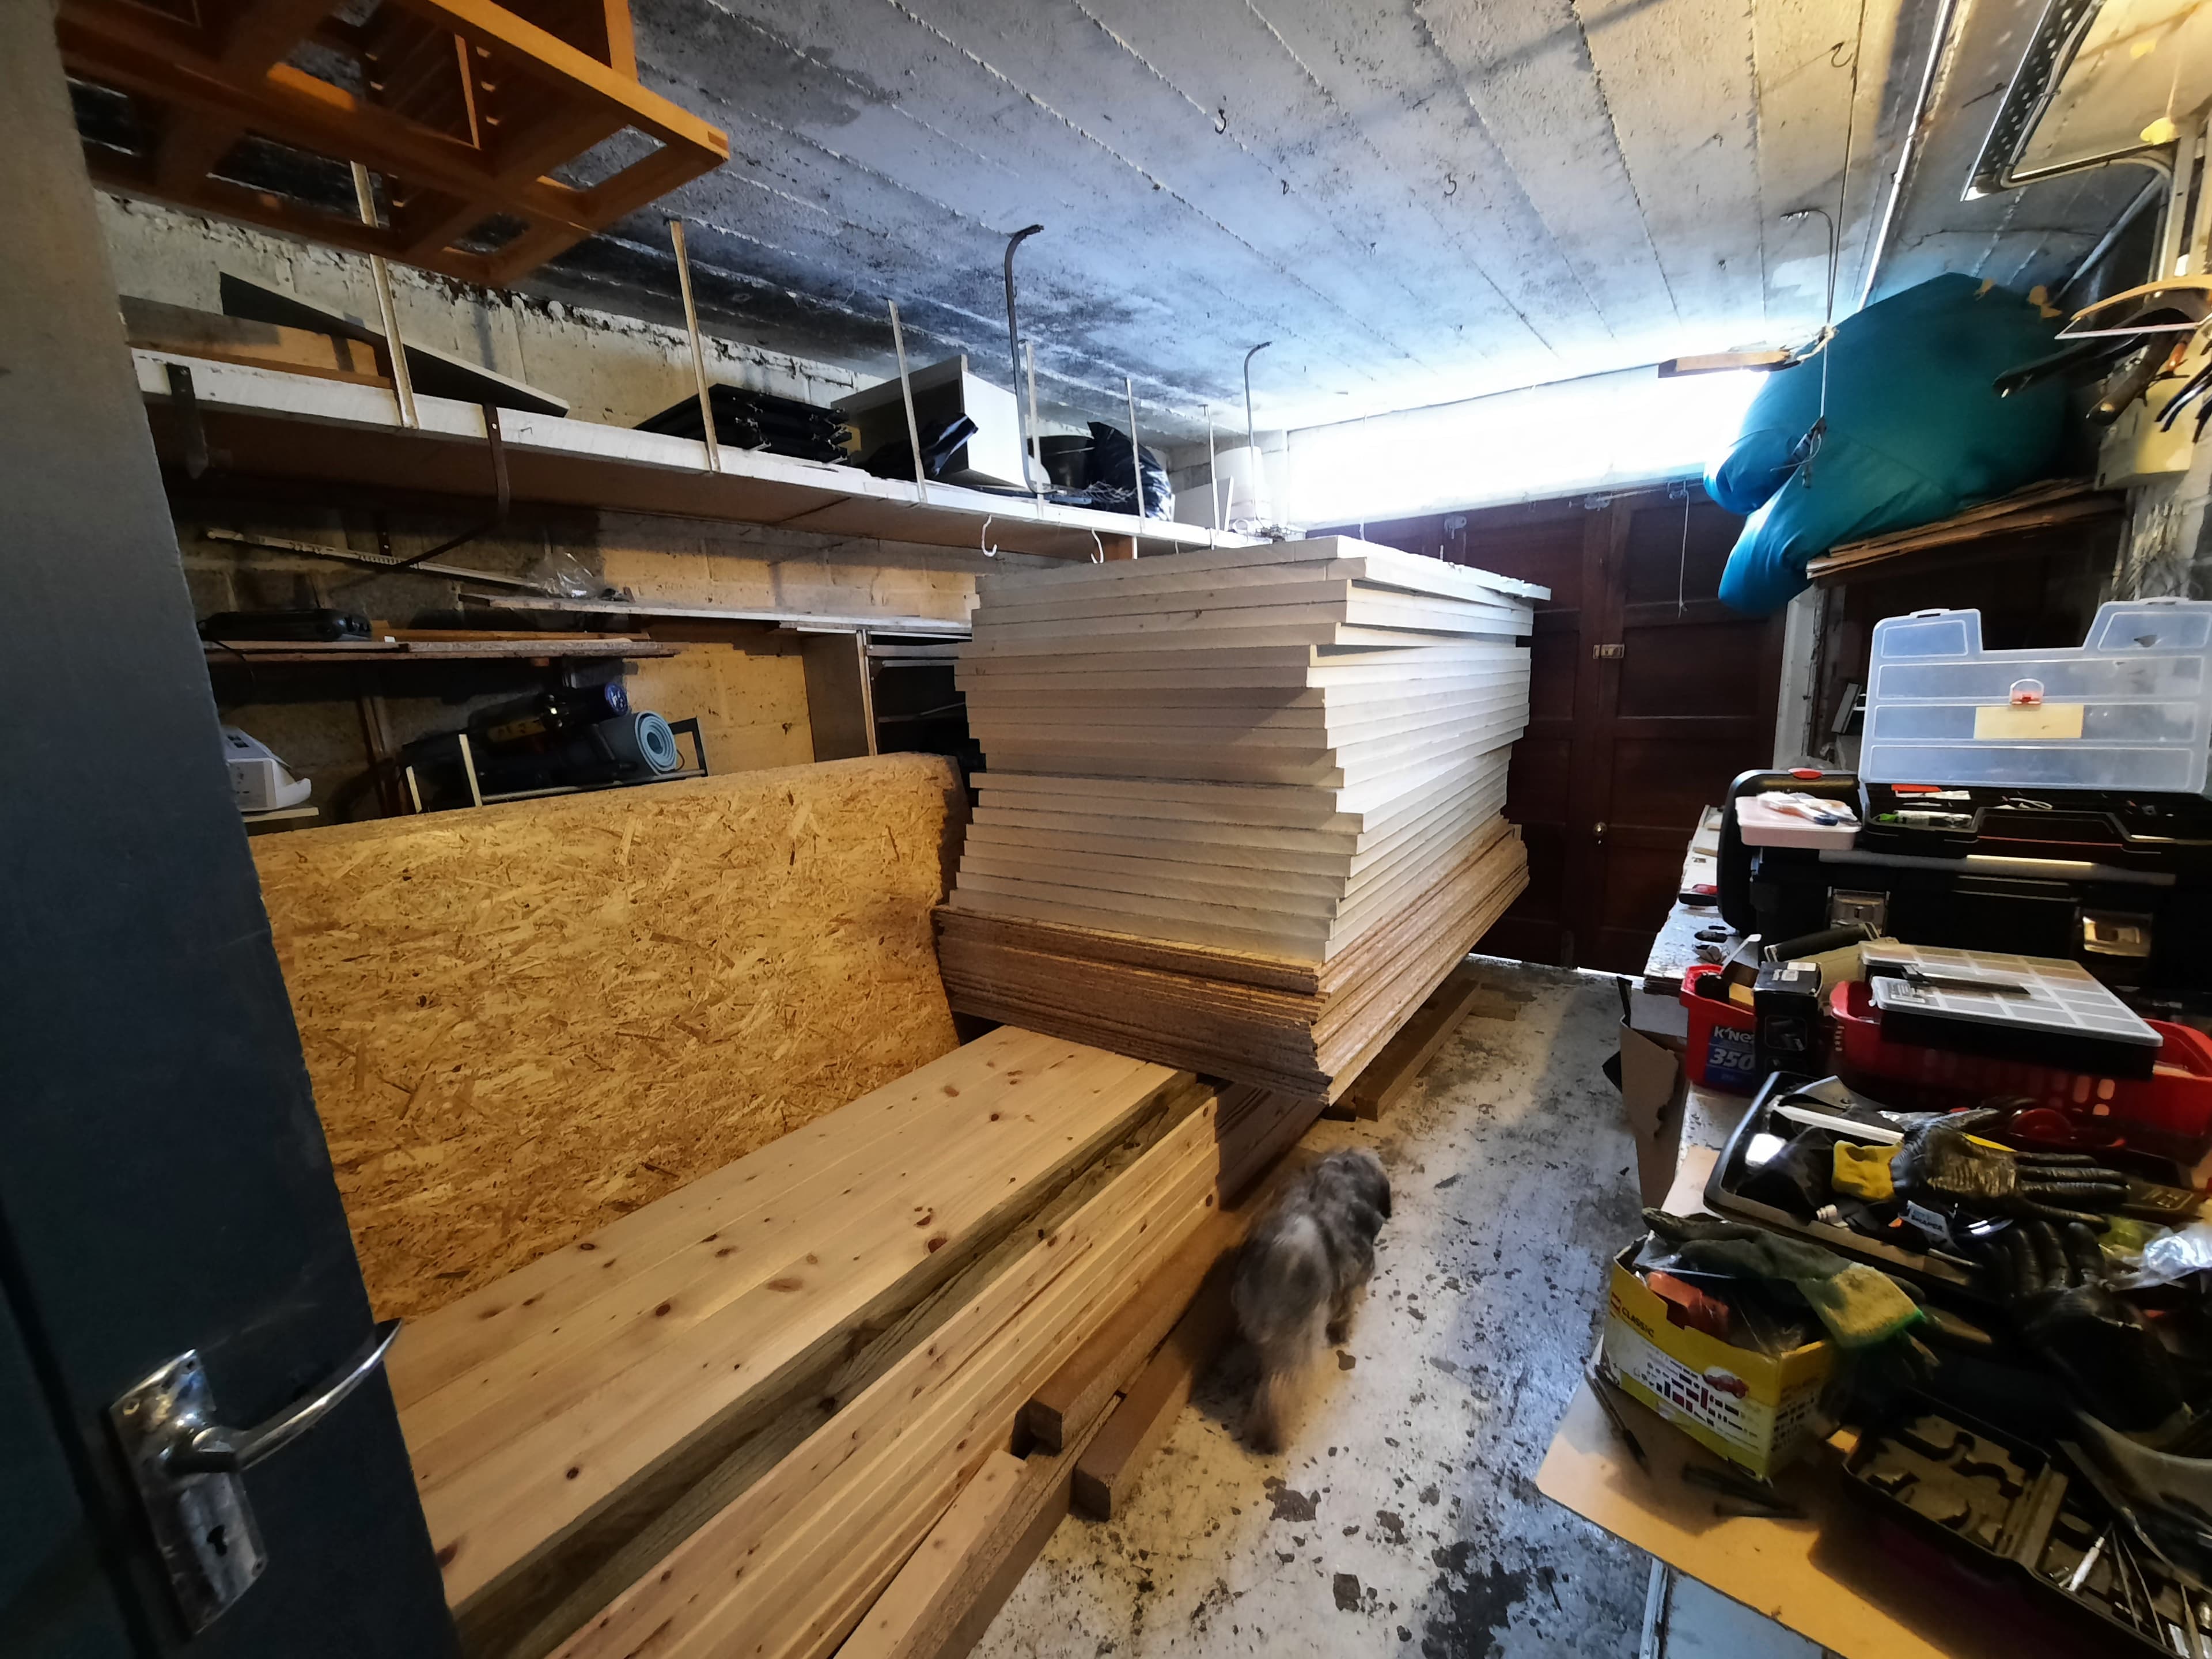
Once the design was set, I sourced materials from 15 different suppliers - each one specializing in a different product
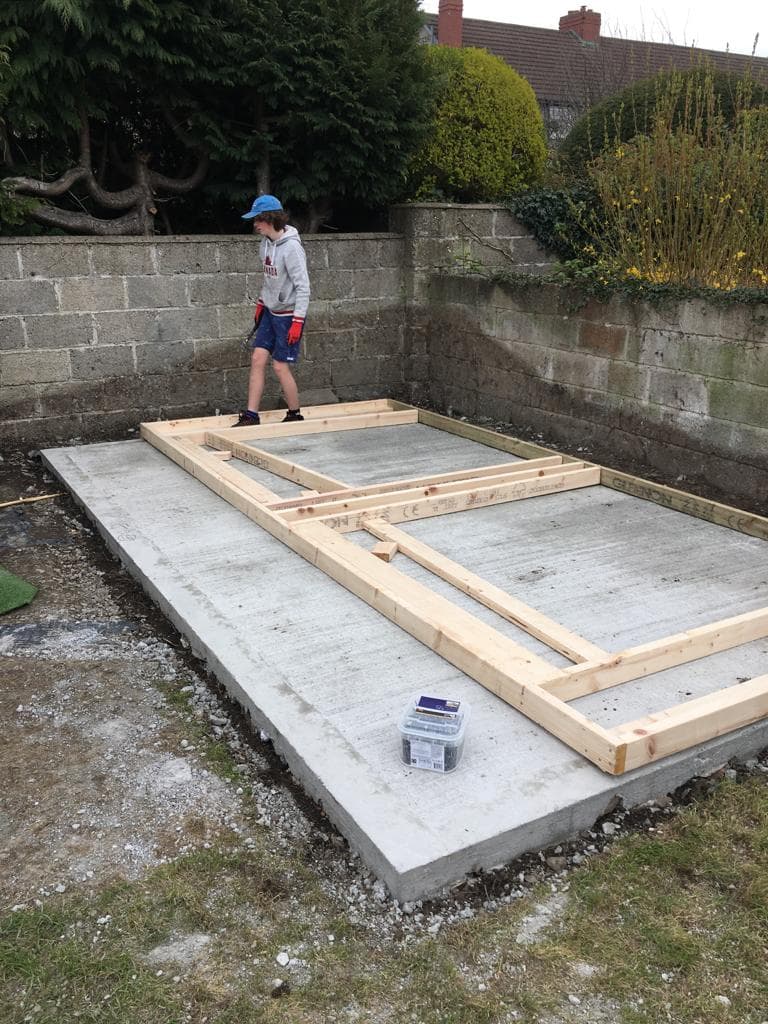
Pouring the Foundation
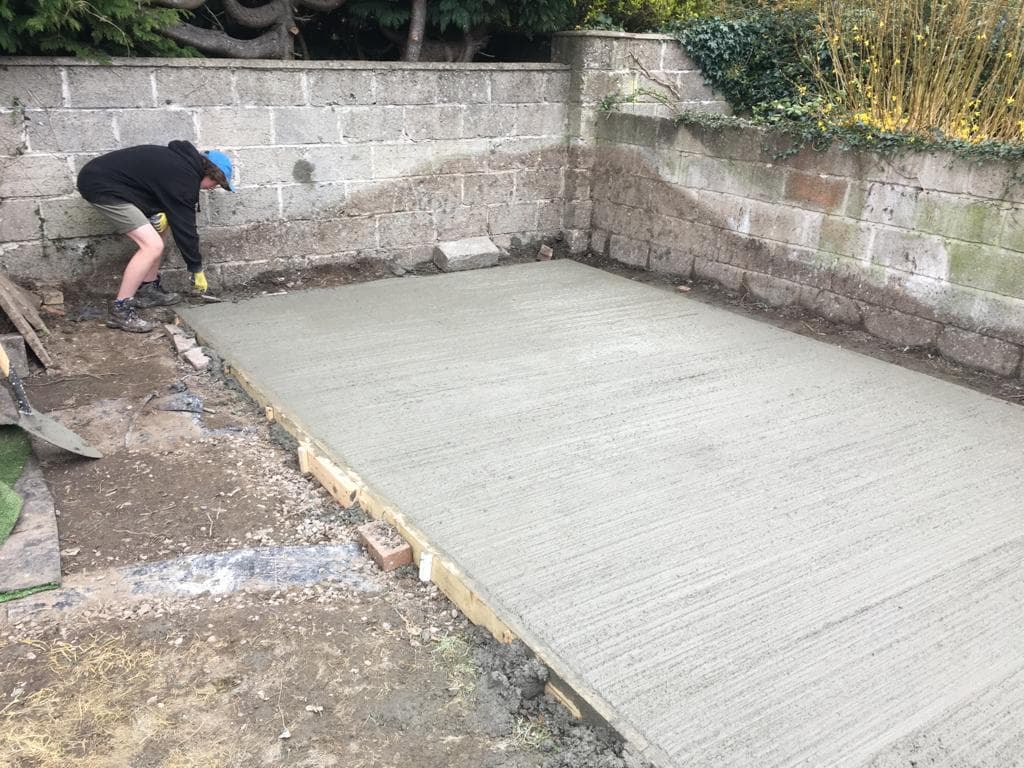
After clearing the site, I built a frame to contain the concrete, added and compacted hardcore, and then had concrete delivered and pumped into place. Once poured, I leveled the surface and finished the edges.
Framing it
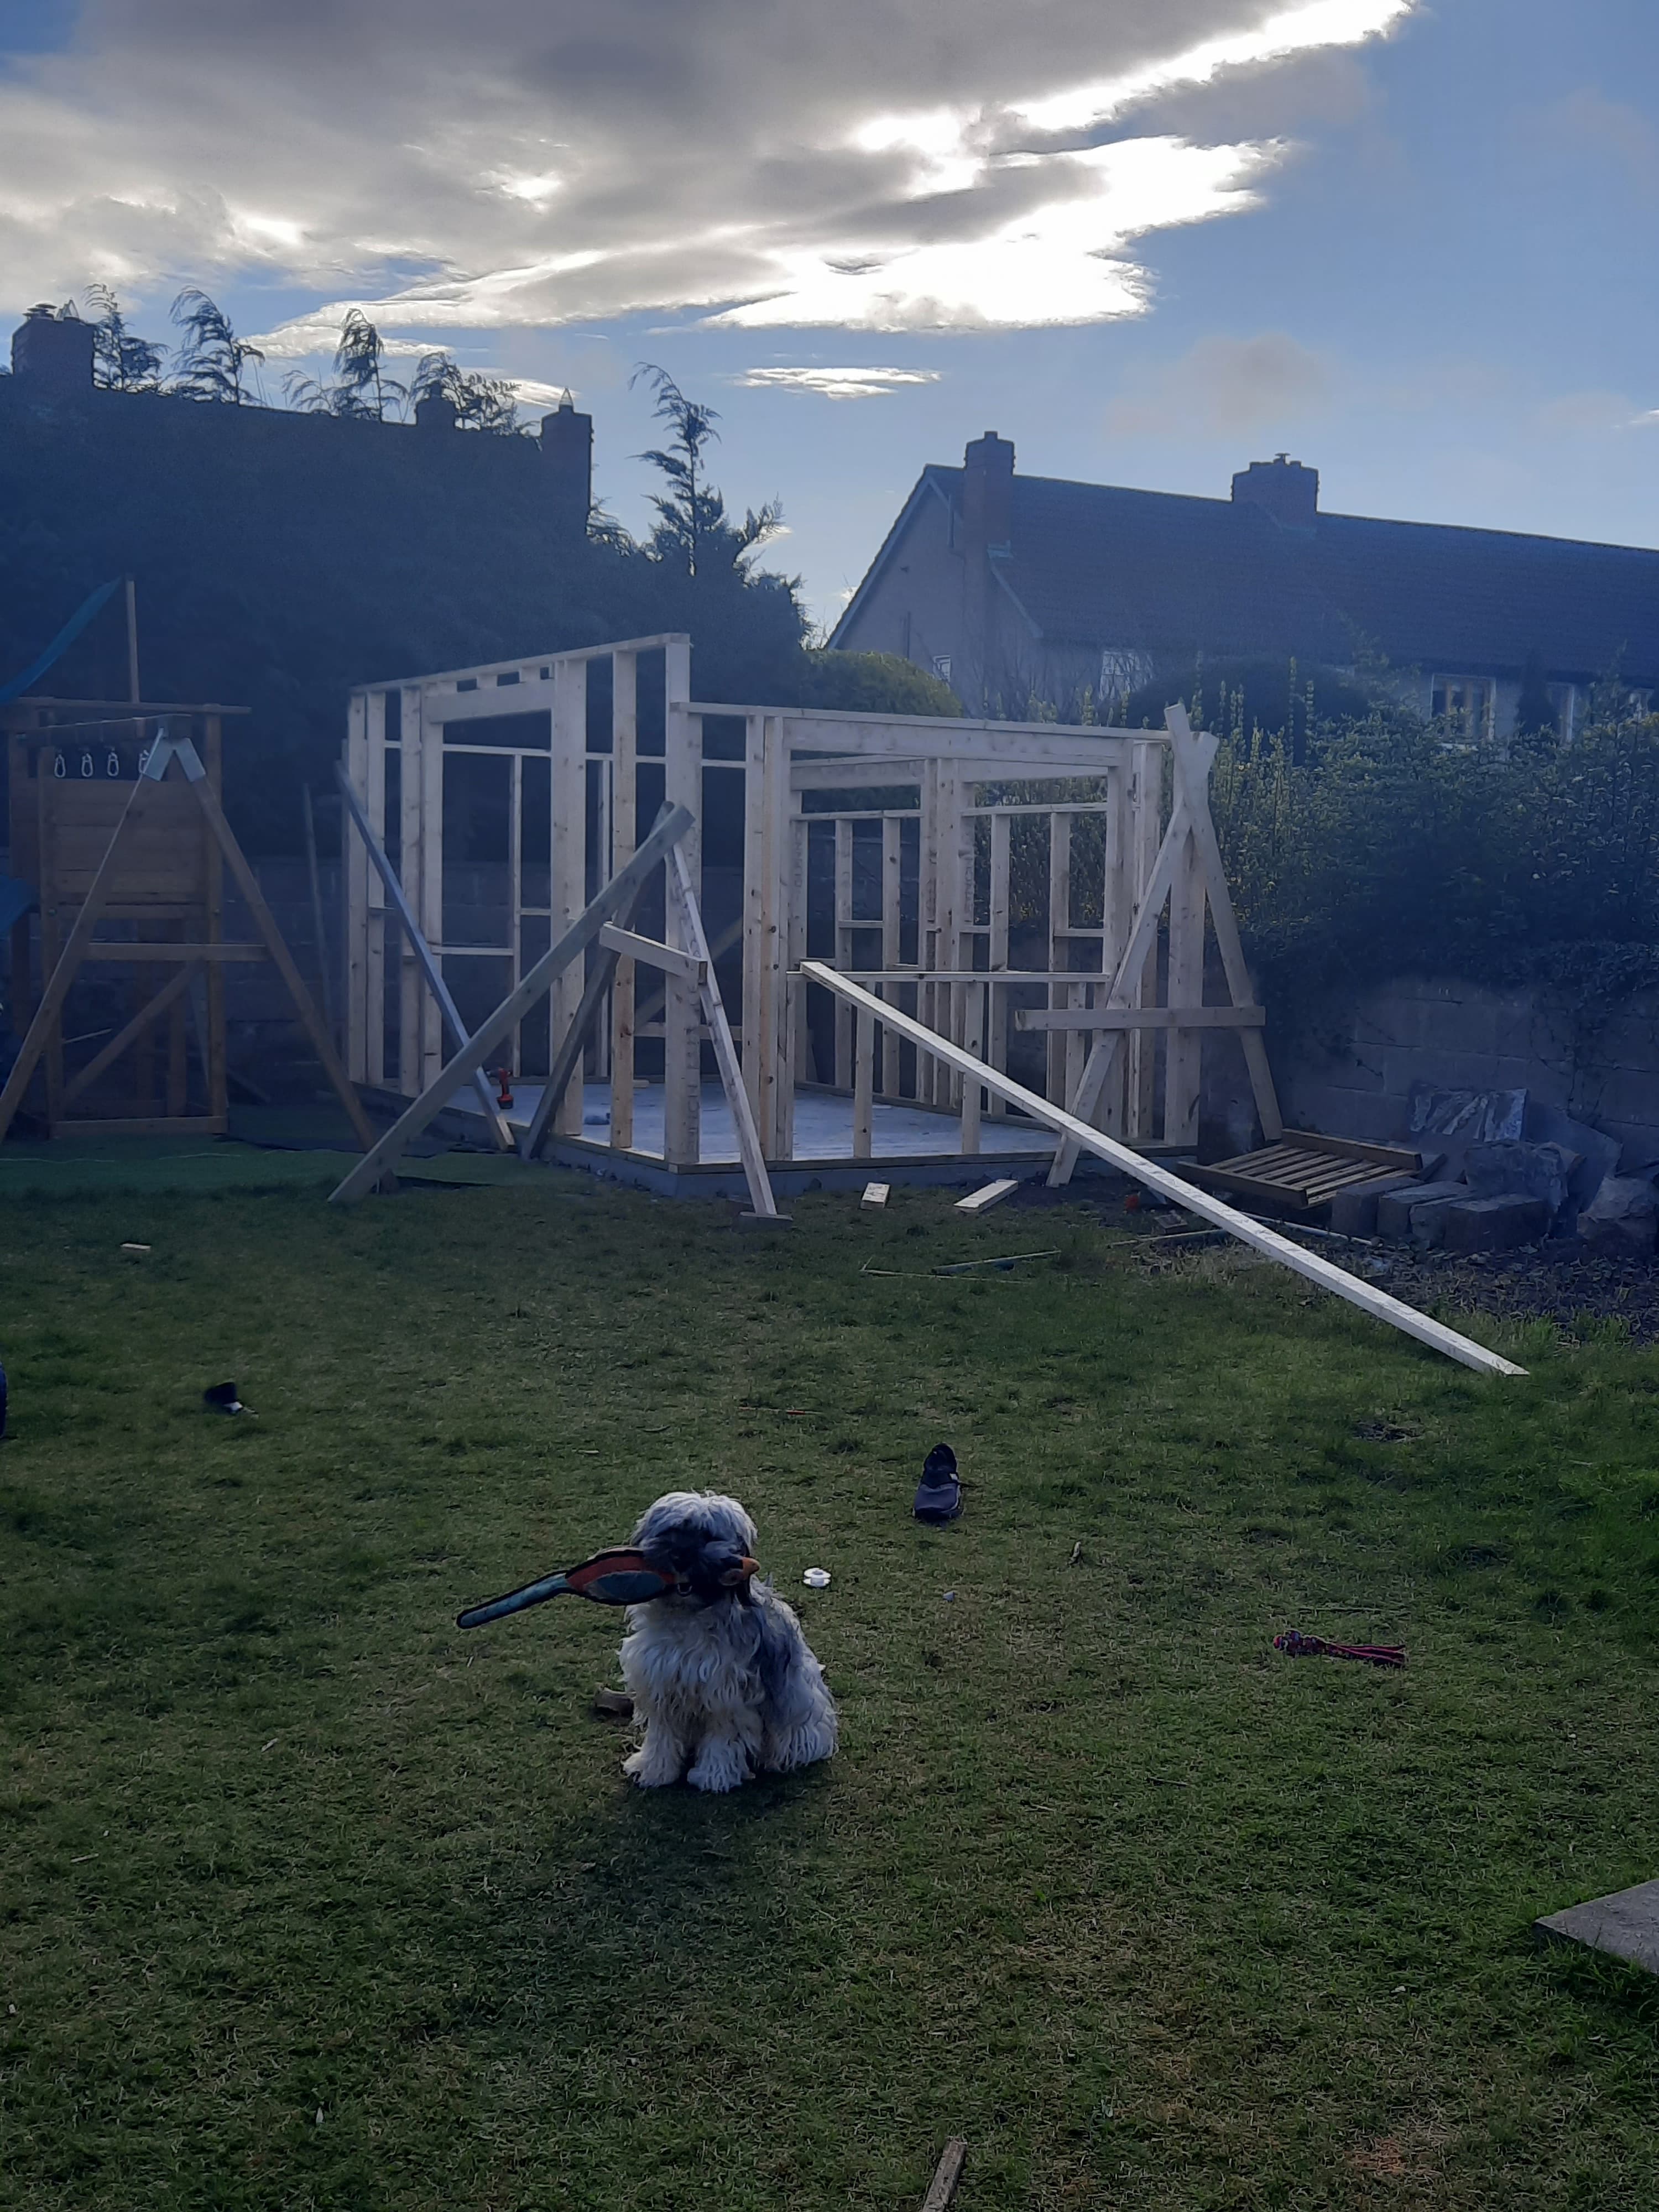
Using 2x4 timber, I framed the structure wall by wall, securing them with cross braces before adding sheathing.
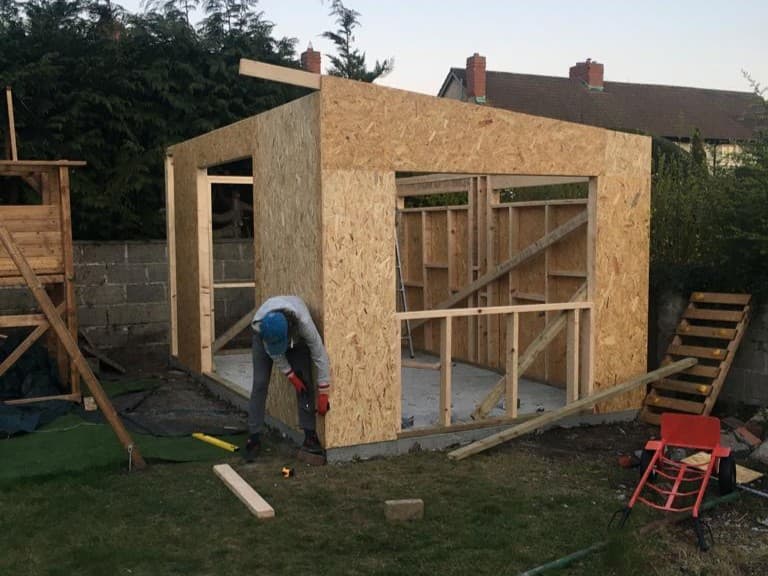
Once sheathed, the frame became rigid and ready for the roof.
The Roof
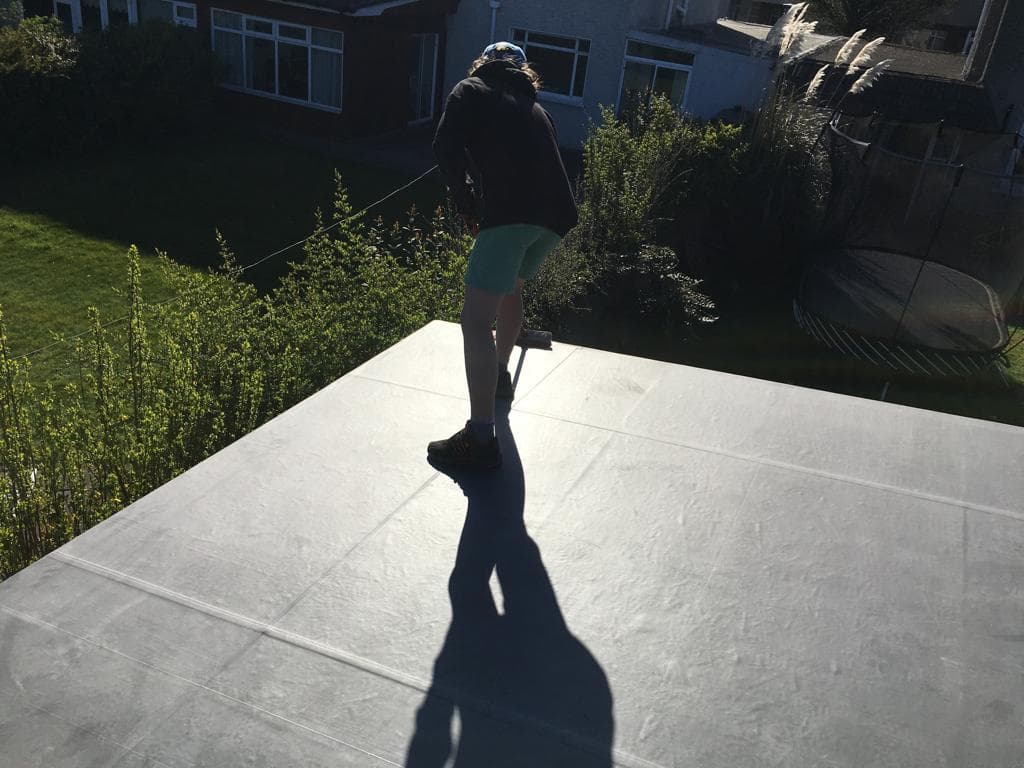
For the roof I installed an EPDM rubber roof, after rolling it out, I applied adhesive and pressed it down with a roller.
Cedar Cladding
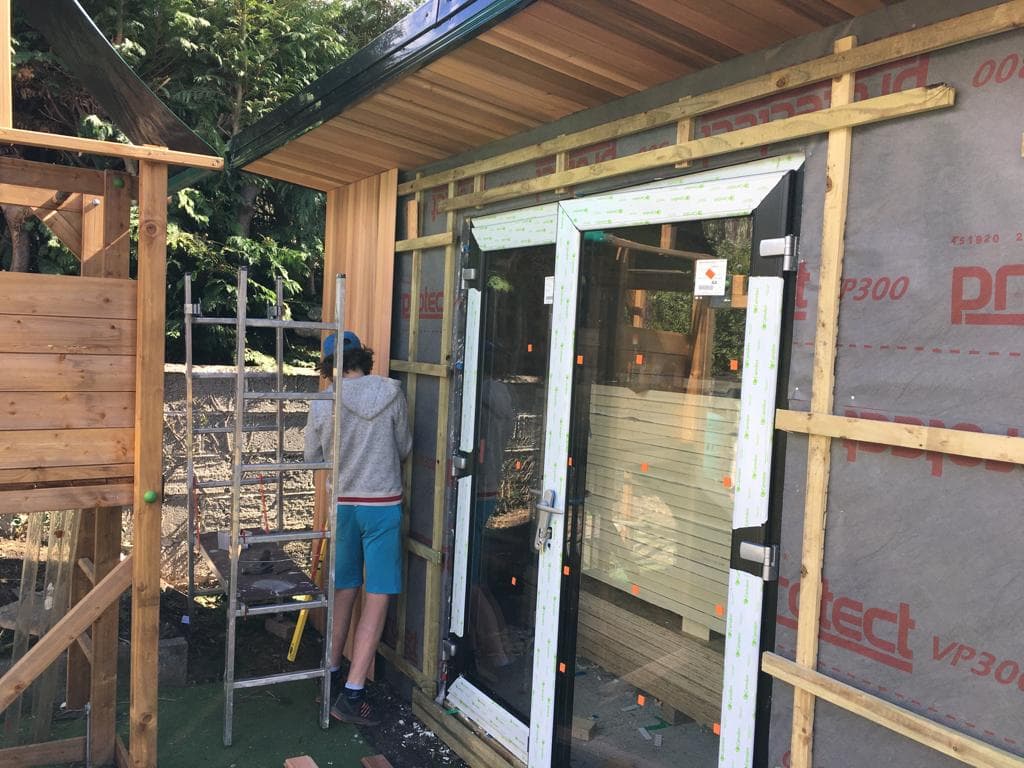
I first fixed a 2x1 treated timber grid to allow airflow behind the cladding, then installed the cedar tongue-and-groove boards, working systematically around the building.
Electrics
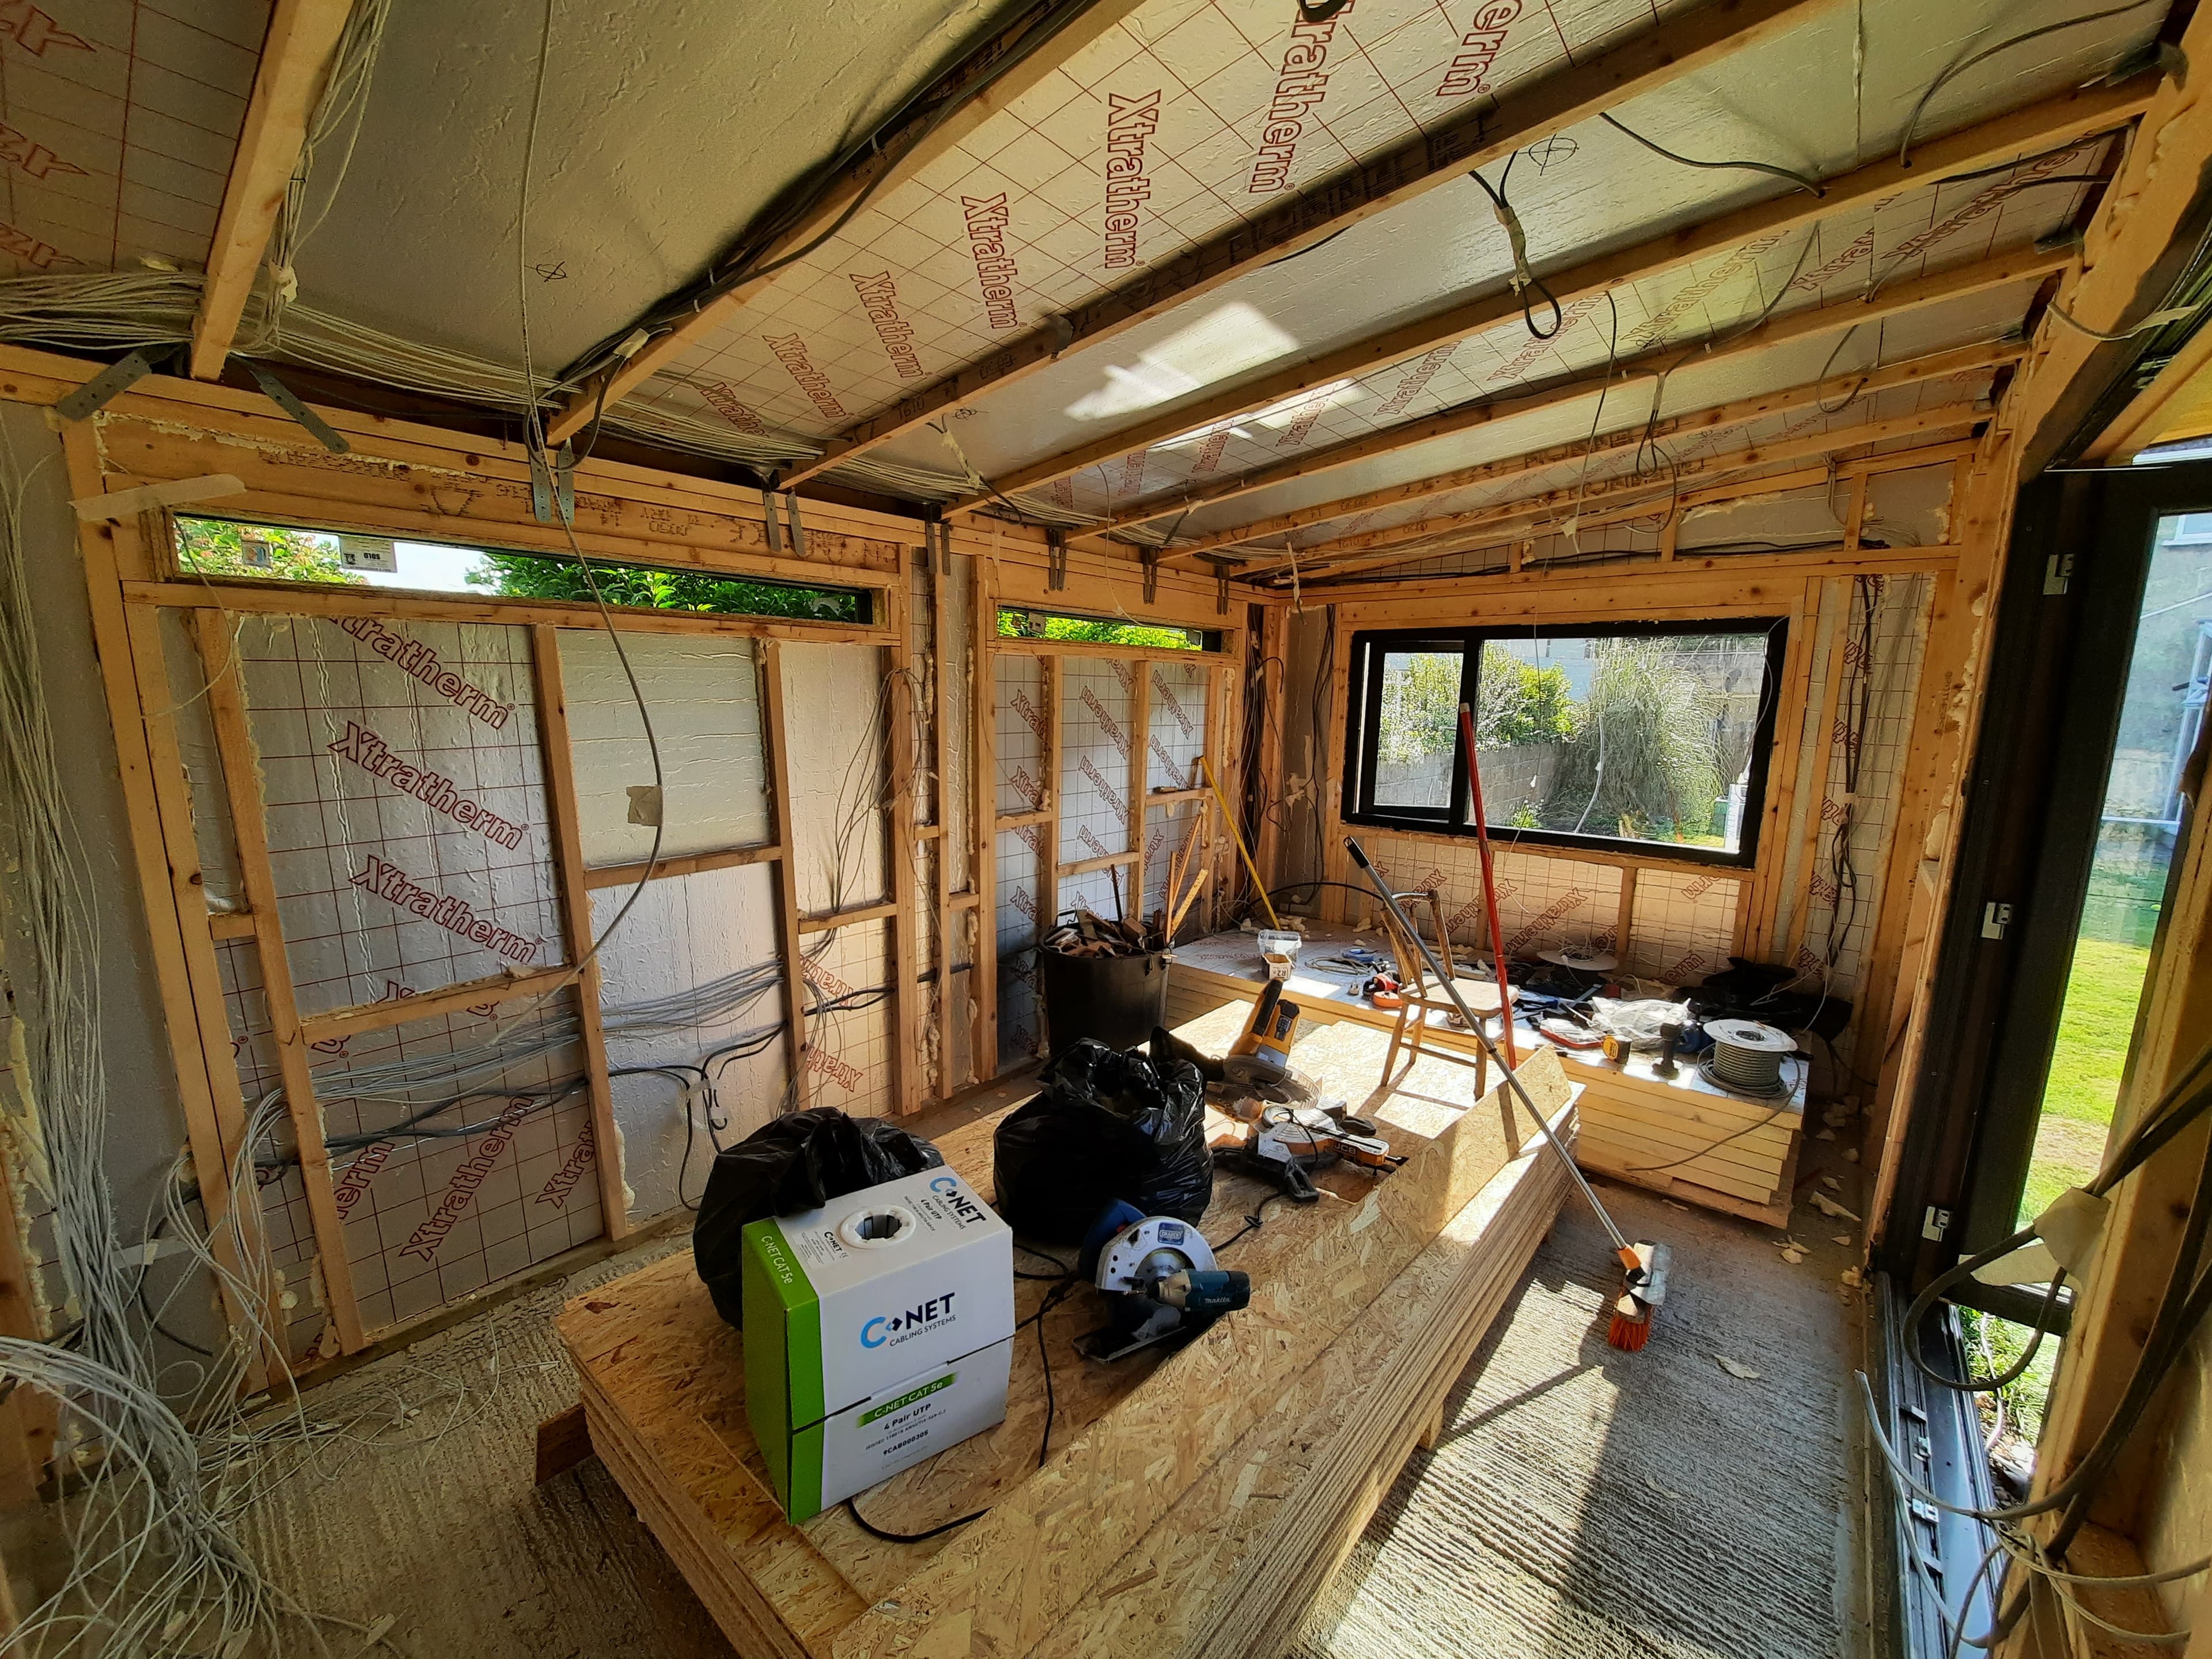
I ran all of the wiring and network cabling myself, planning cable routes for both high and low voltage systems
IMPORTANT
The second fix high voltage electrics were completed and certified by a licensed electrician. This was the only external help on the project
Plasterboard Install
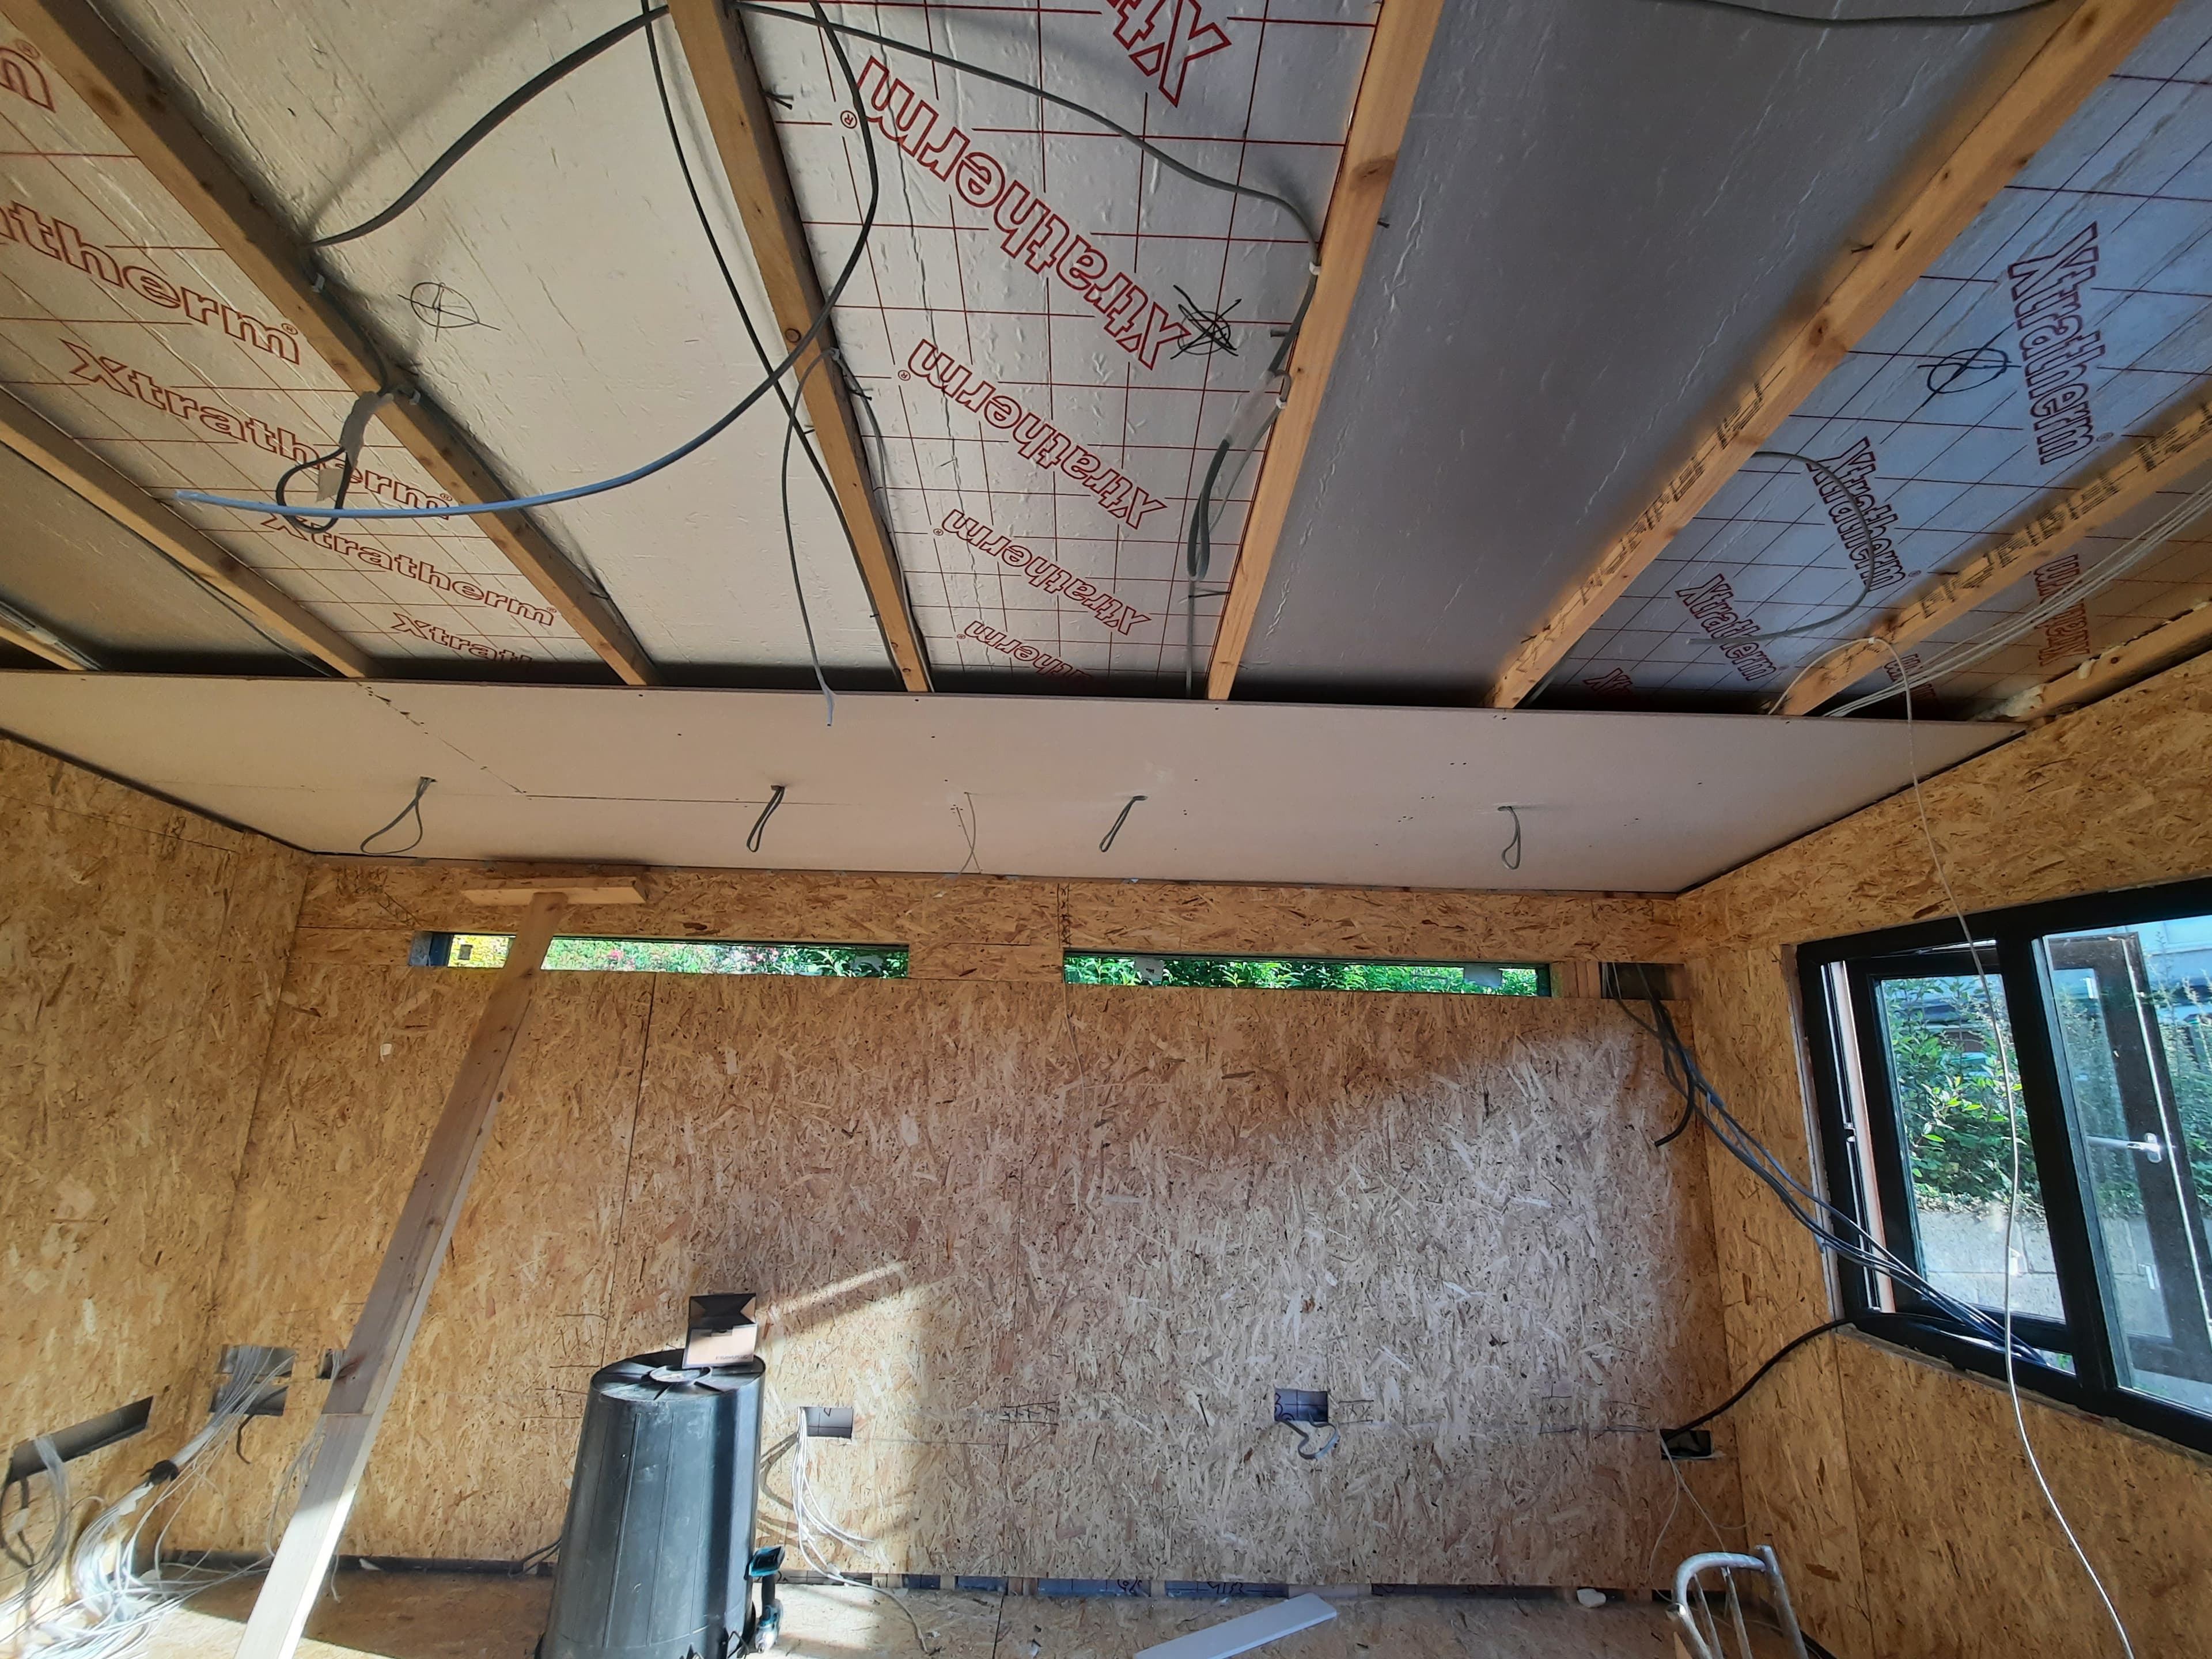

Installing plasterboard on the ceiling was especially challenging working alone. I built temporary stands and used “helping hands” props to get it in place. Once the ceiling was done, I moved onto the walls.
Internal Finishes
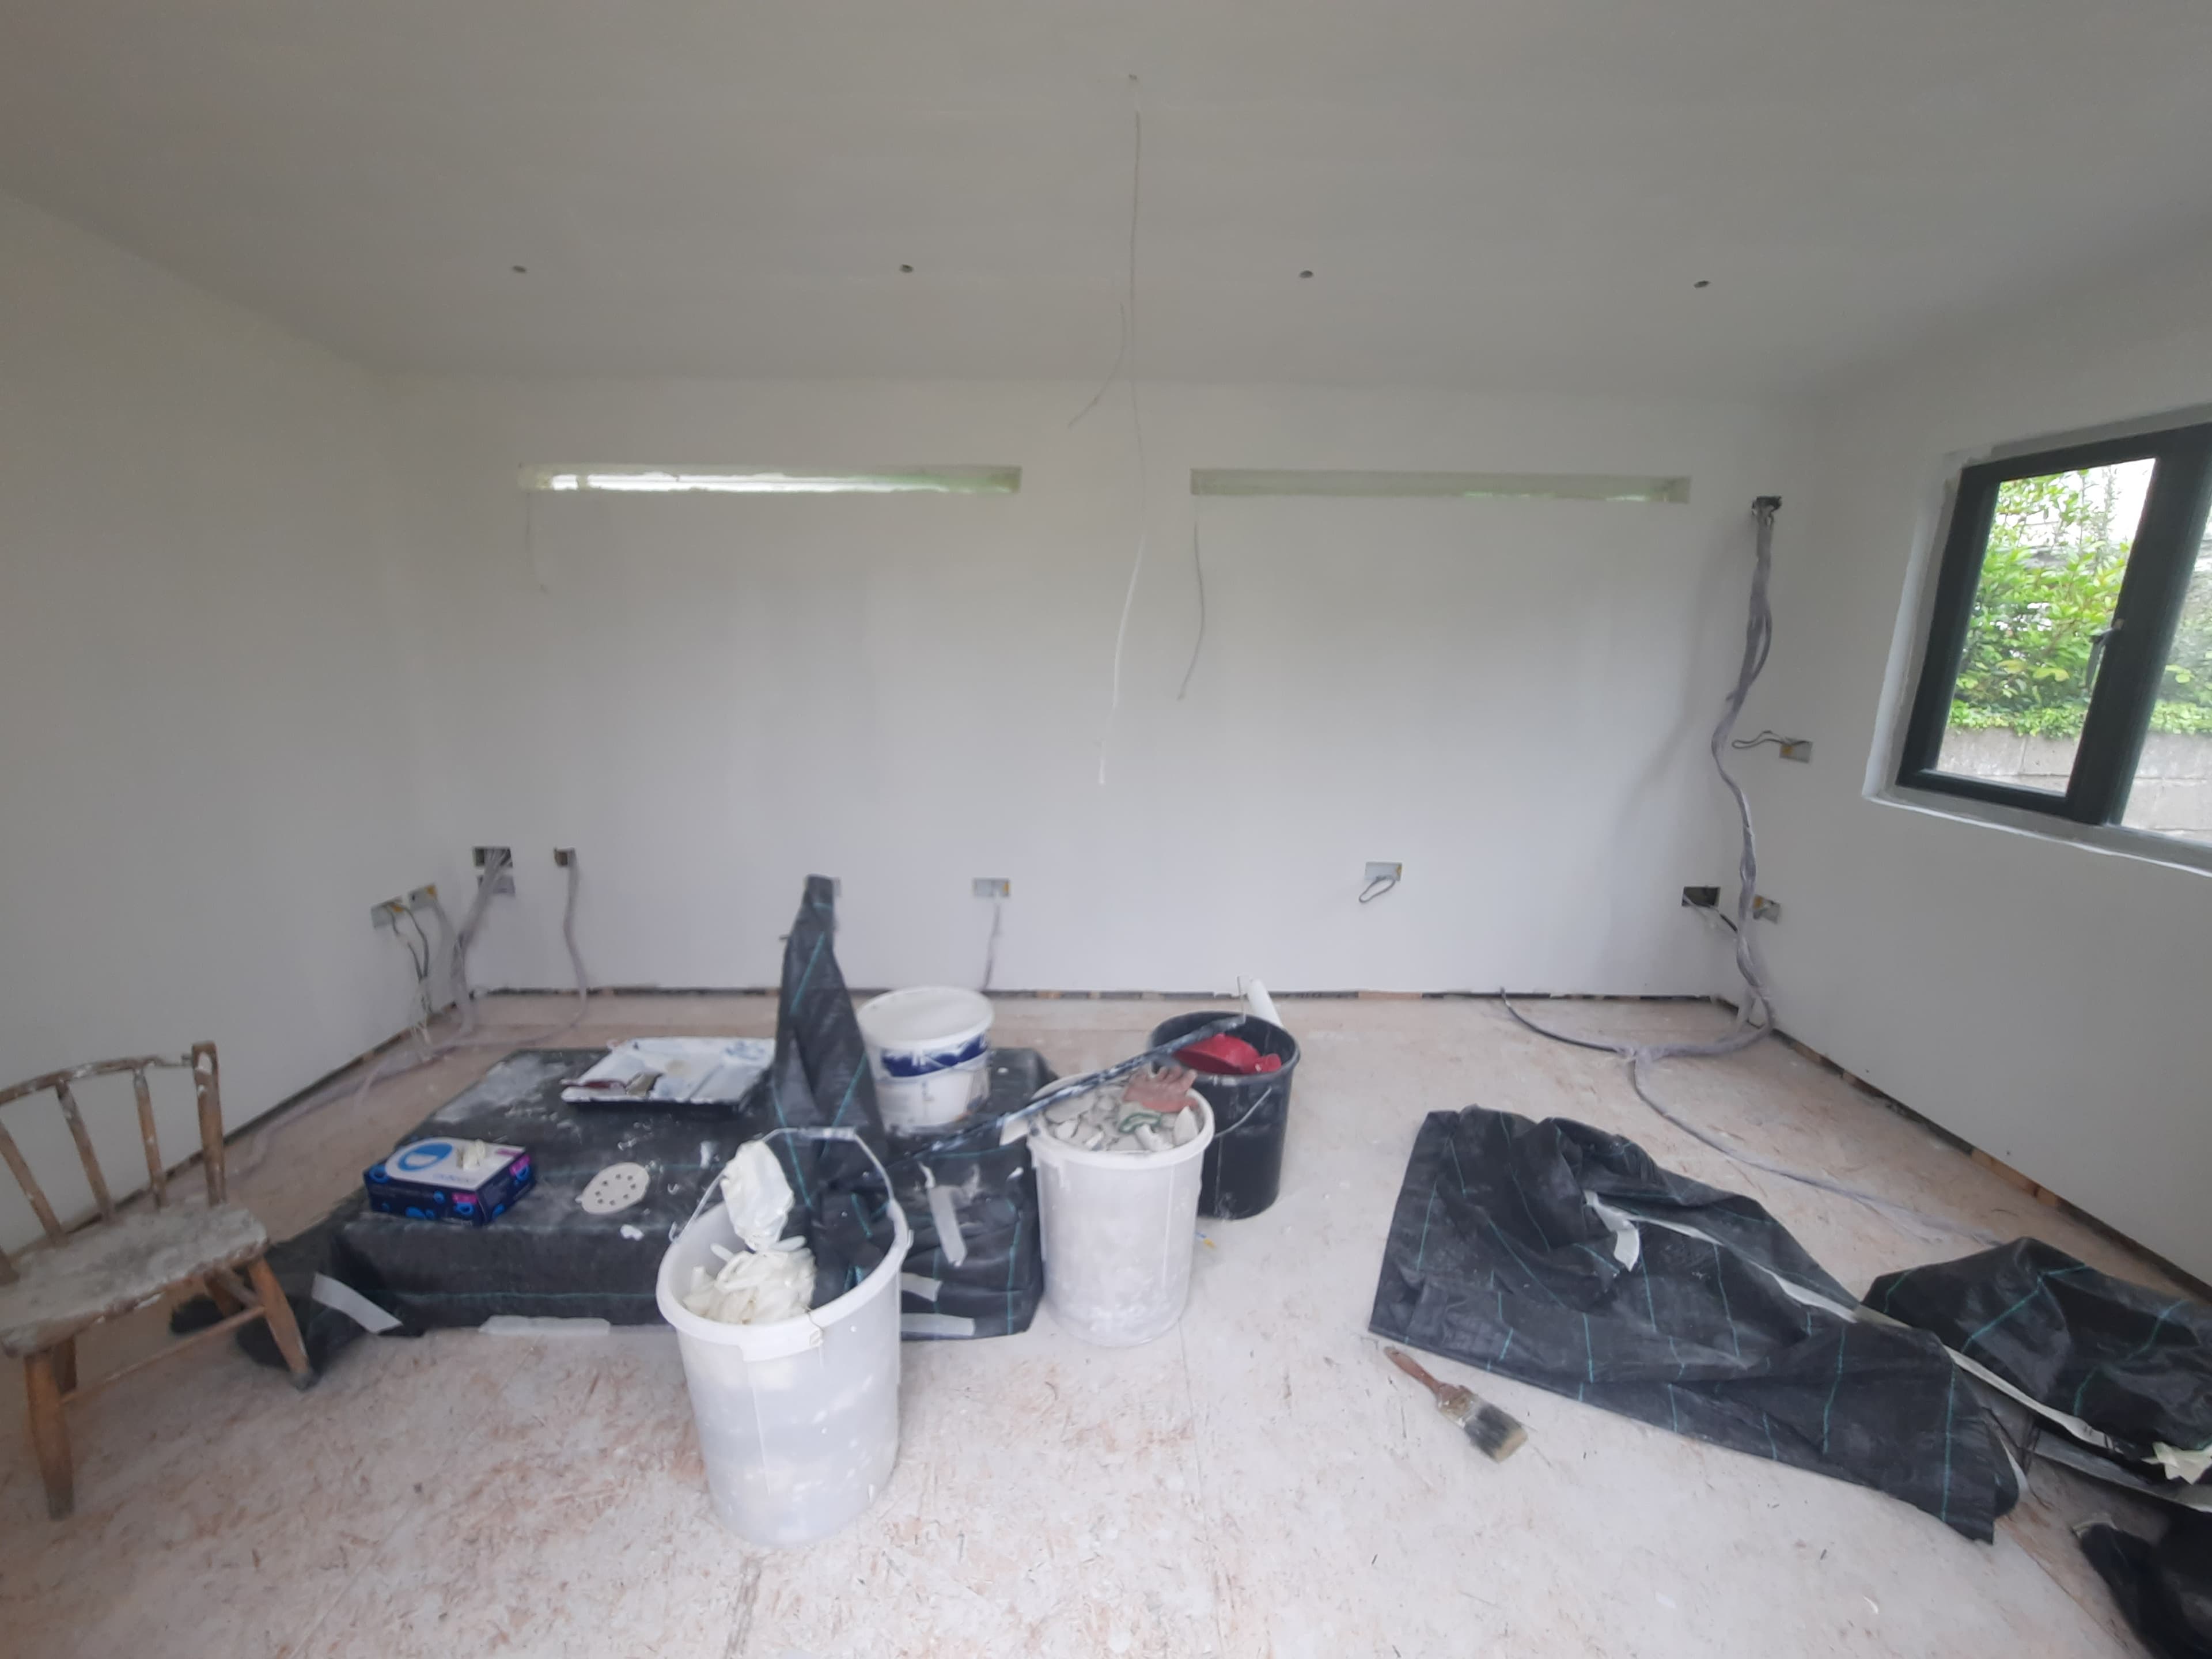
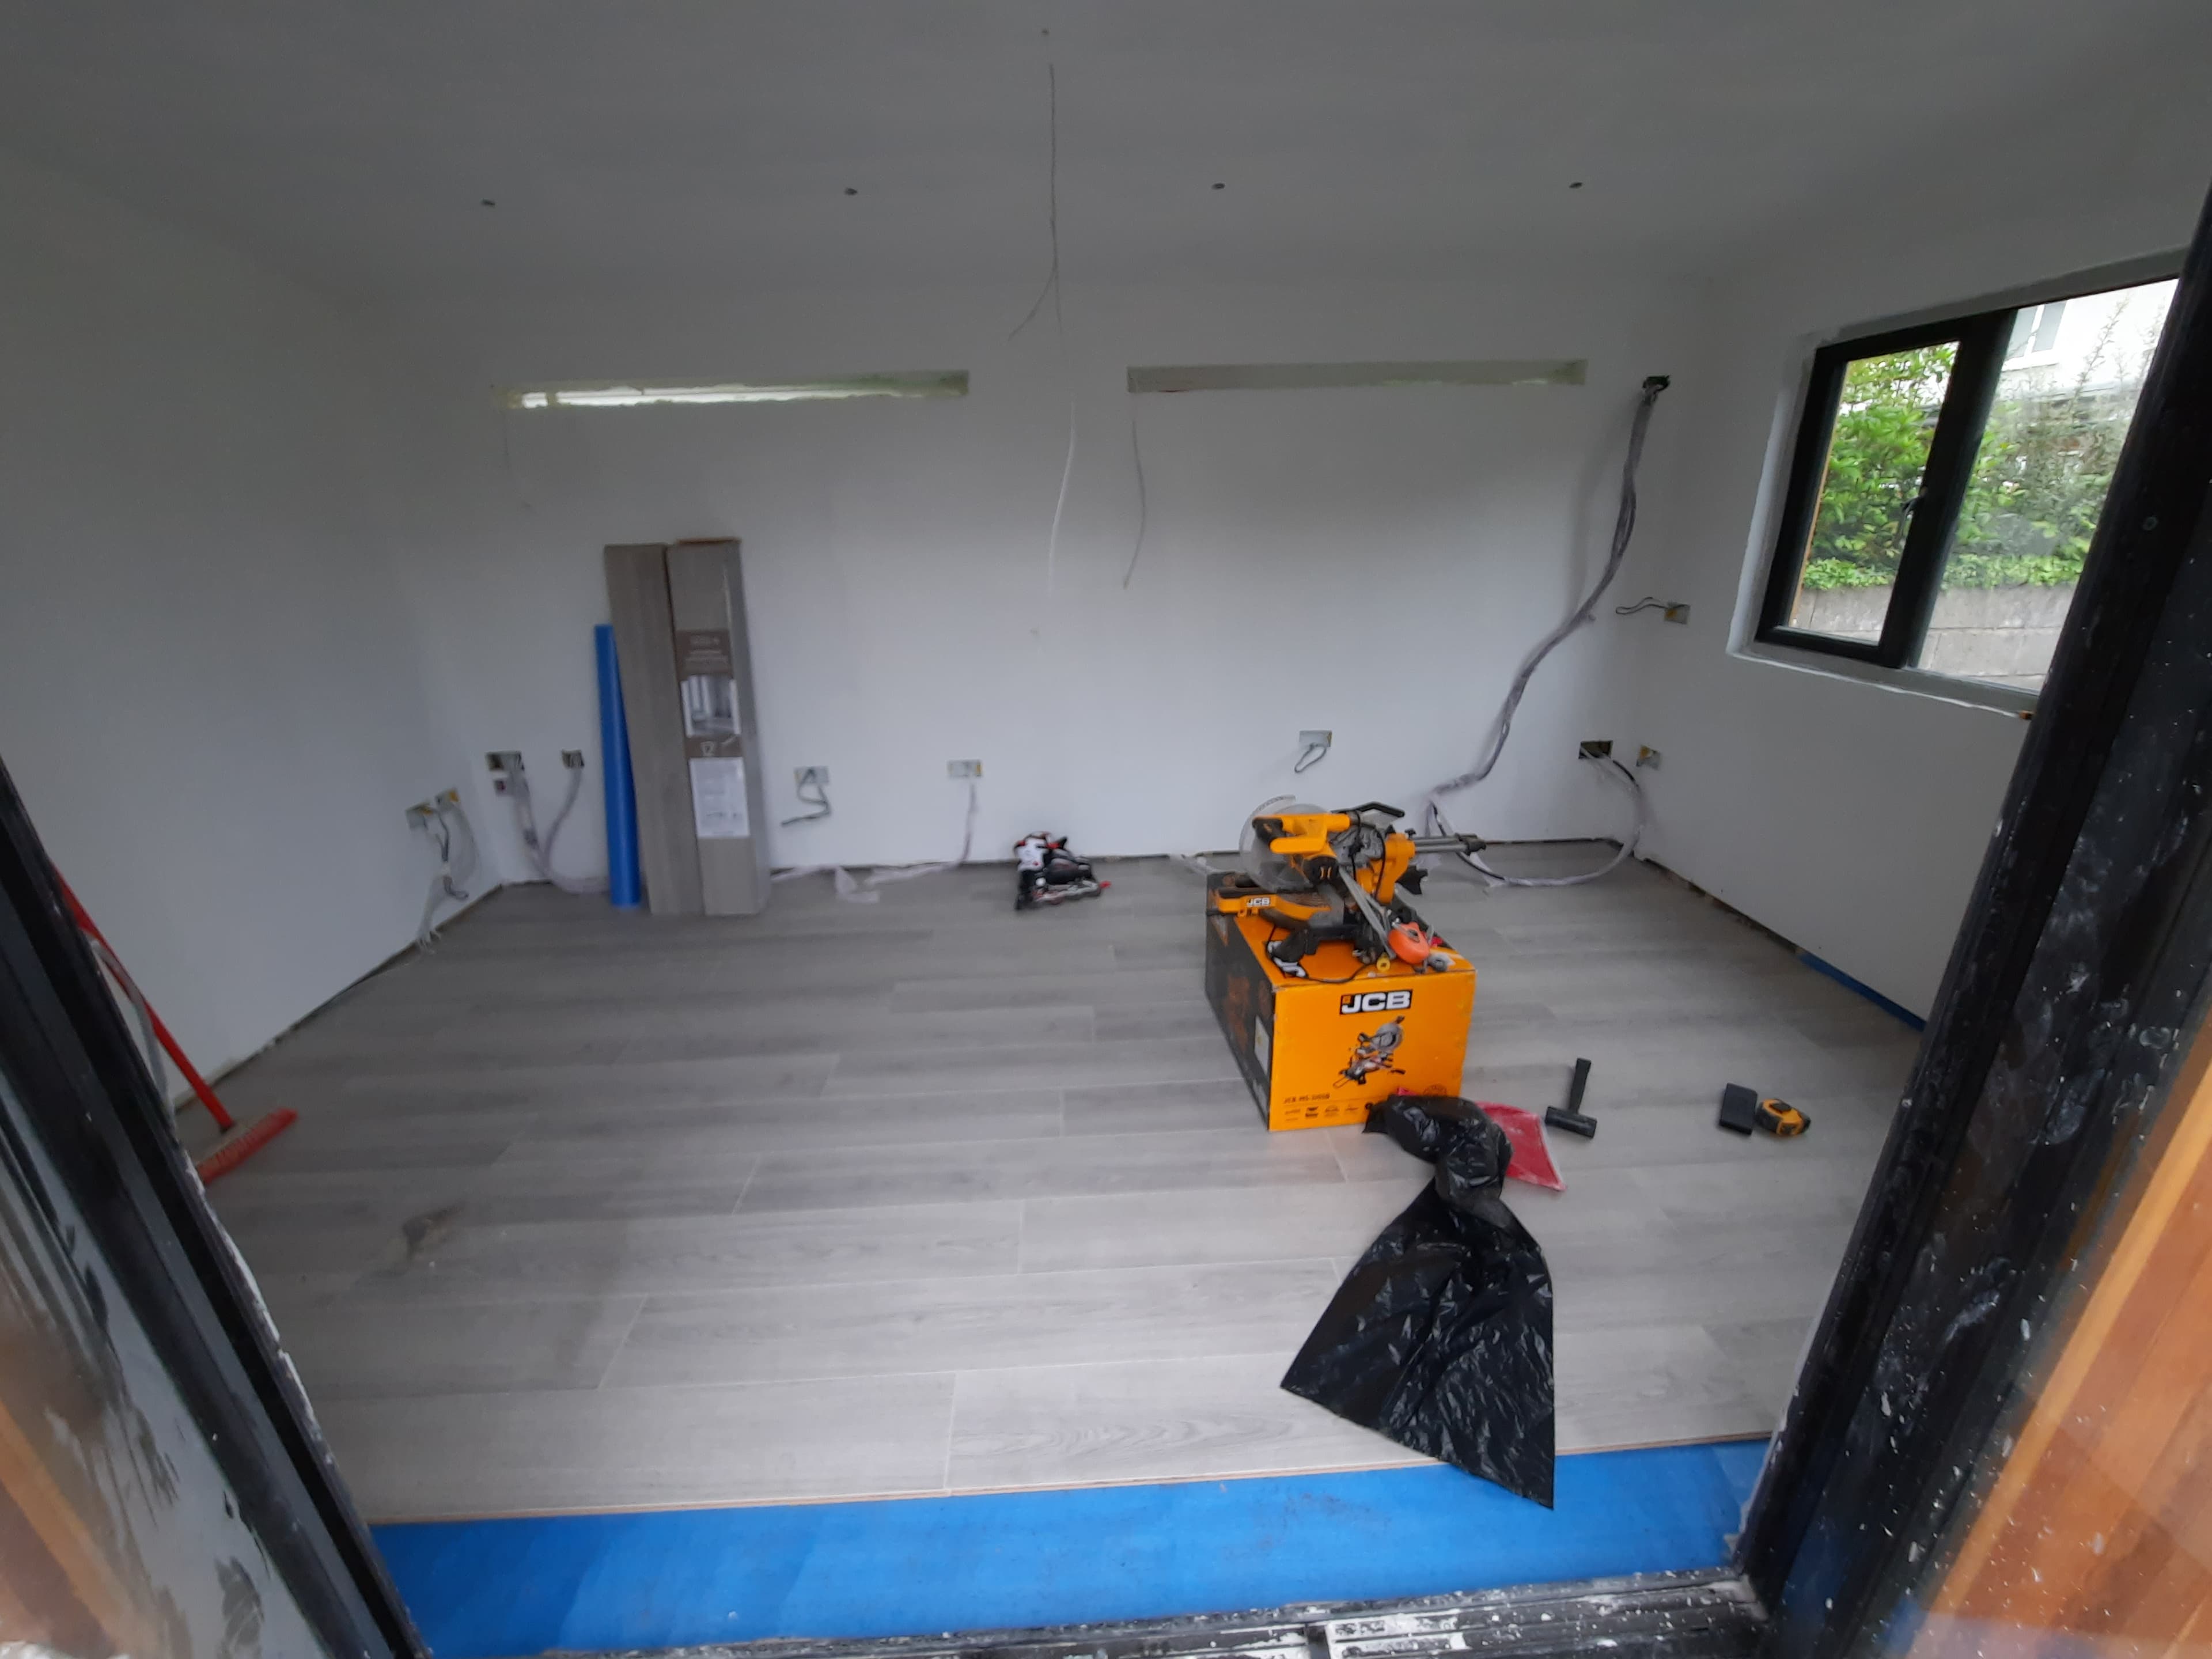
After plastering and sanding, I painted the room and installed the flooring
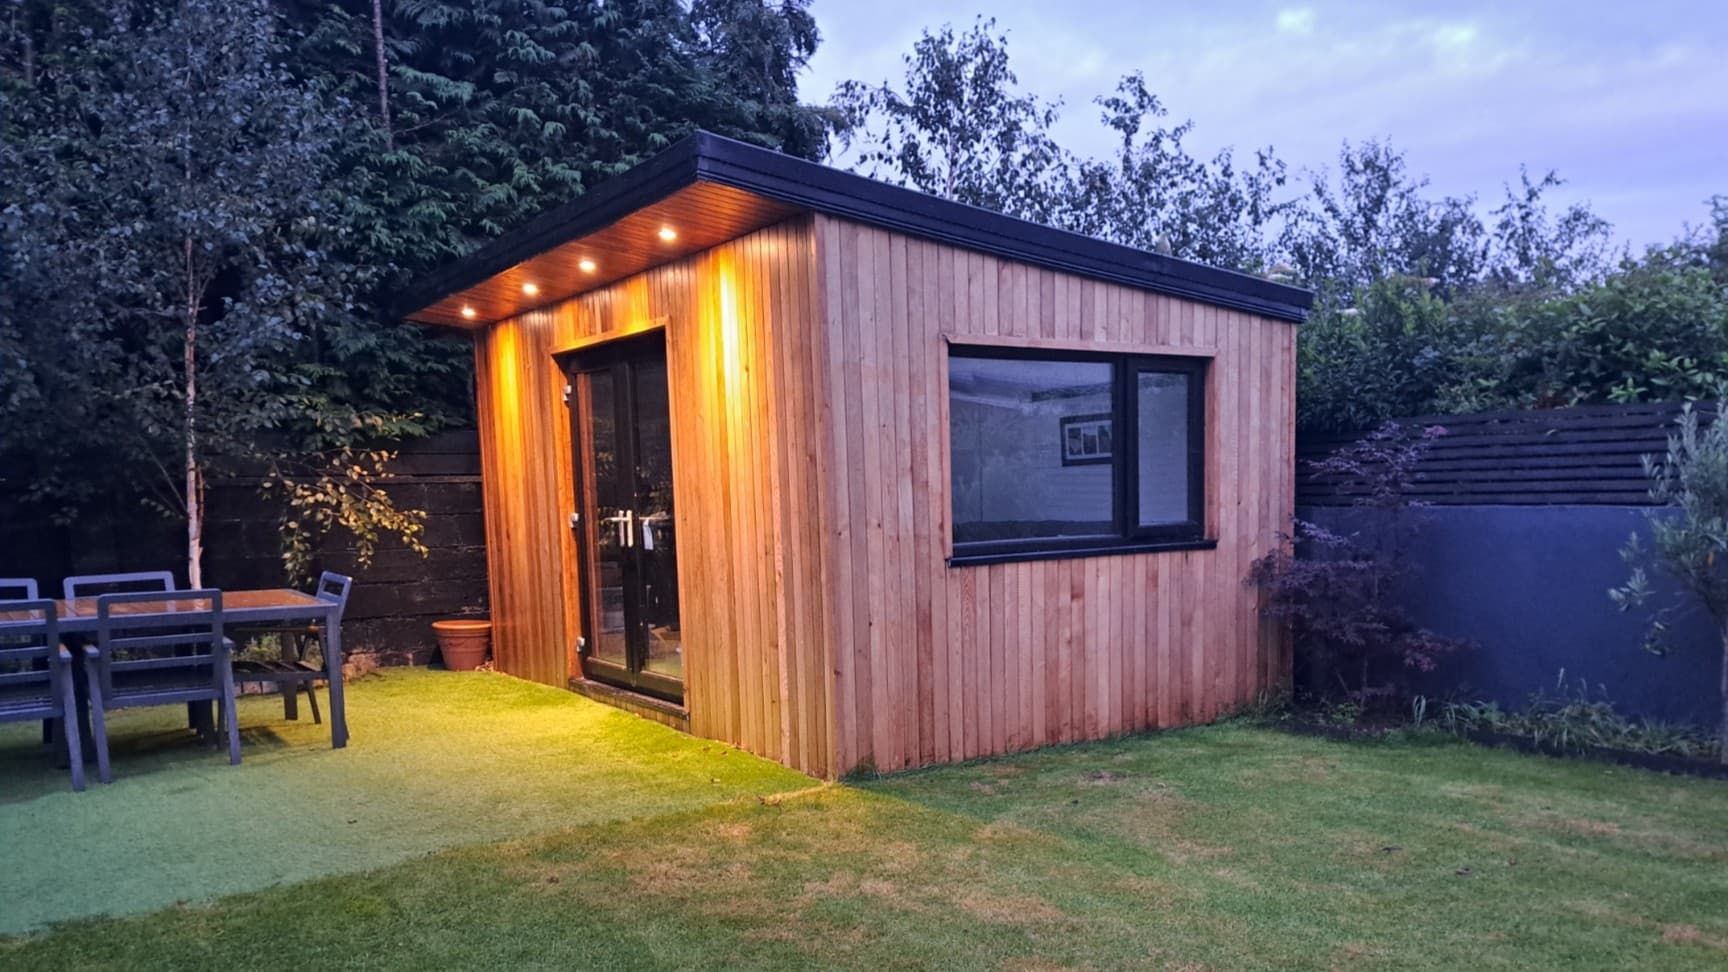
Final Product
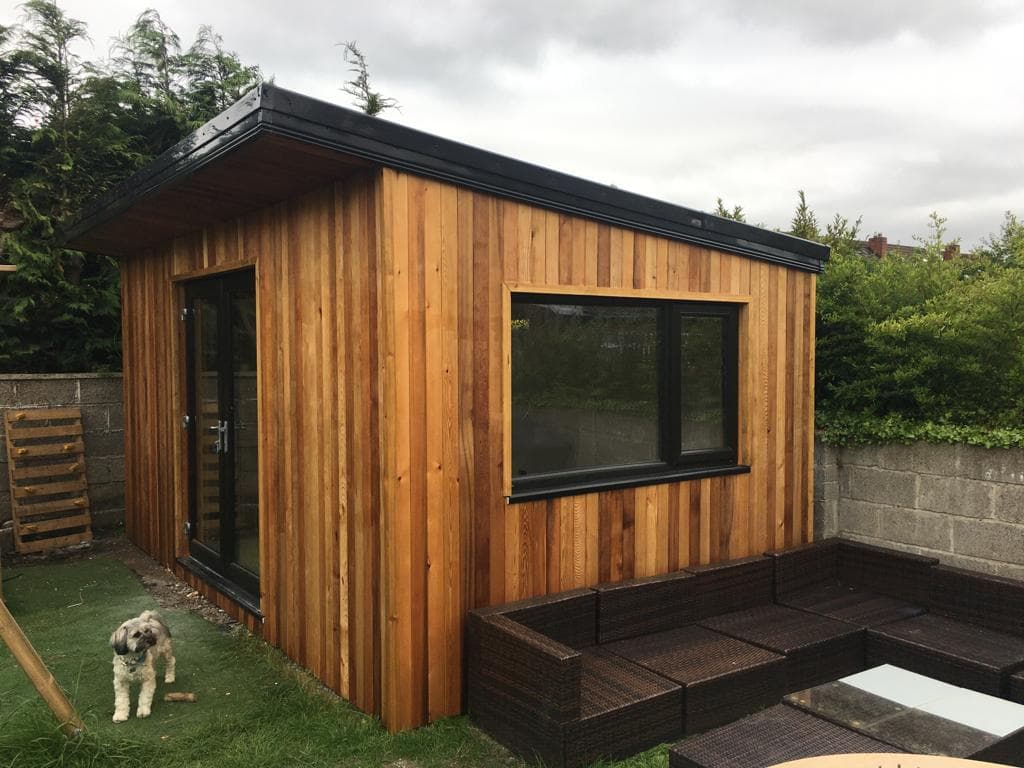
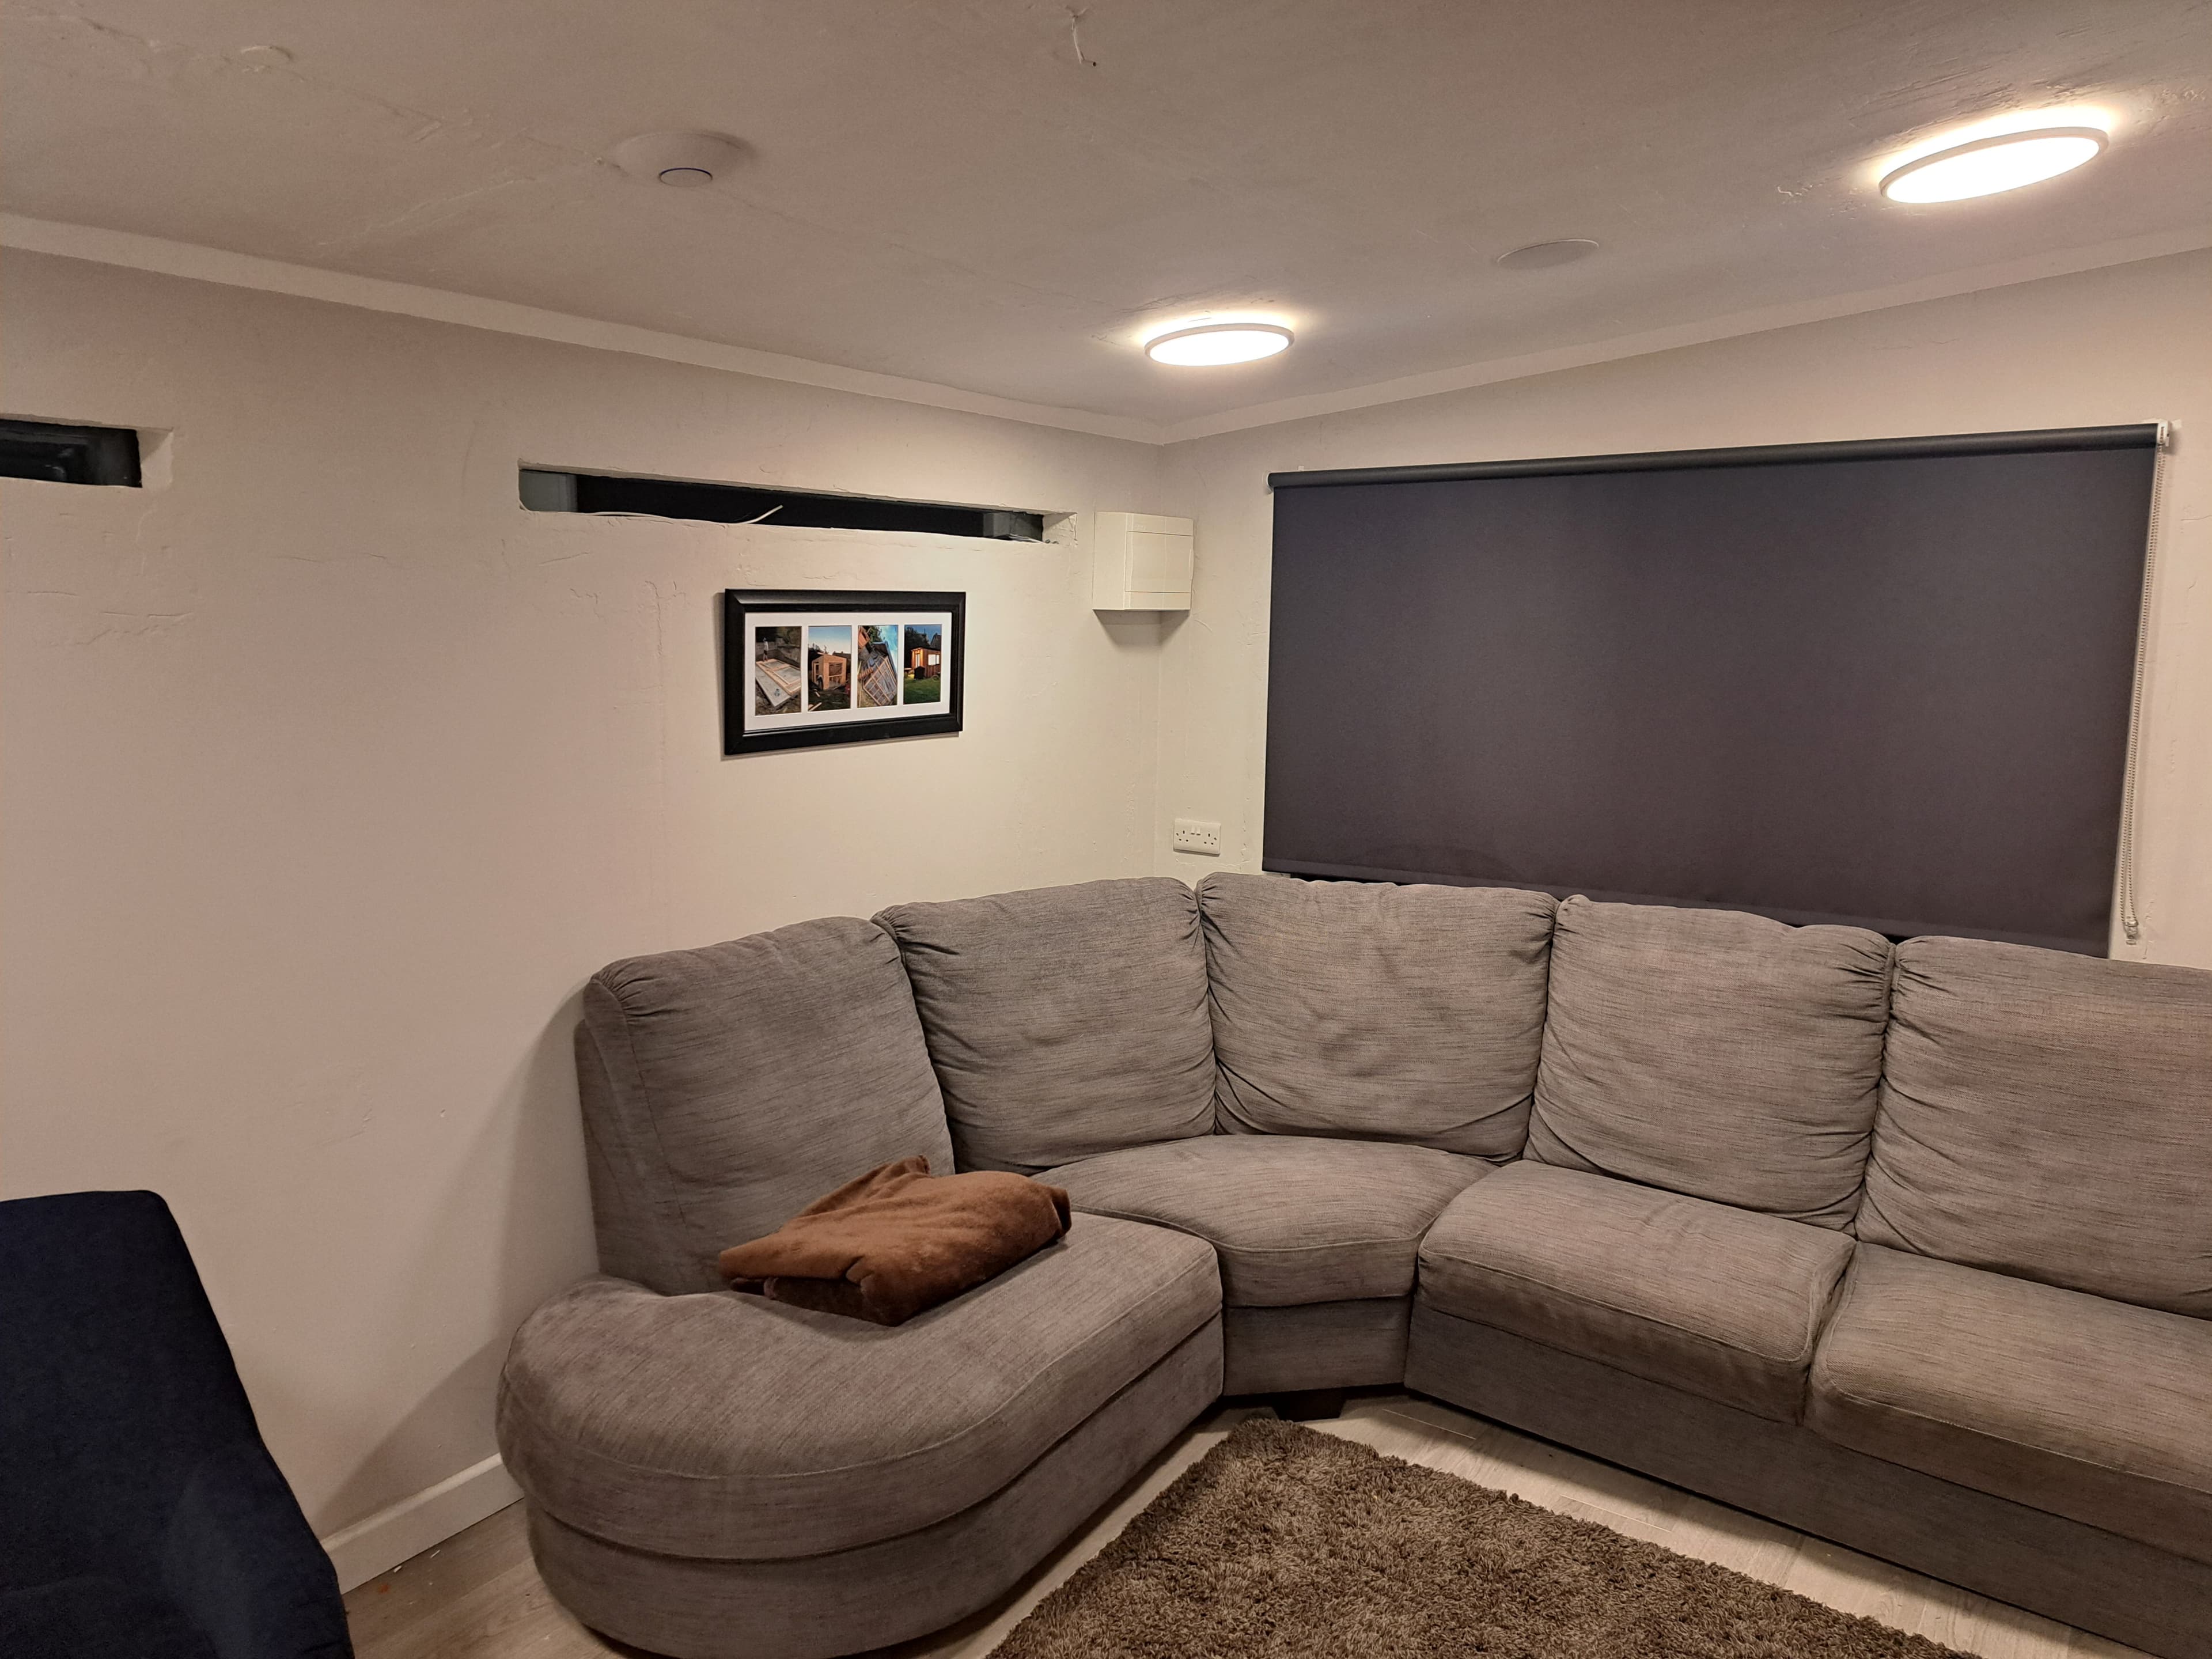
Now I’ve got a warm, weatherproof workshop that’s fully wired and perfect for my projects and relaxing.
It’s also given me a miniture version of my Smart Home System that I’ll improve and scale up to install during ofur house renovation.
What I Learned
- The Power of Youtube - This was my first major project built using skills only learnt from YouTube, this project showed me just how powerful online learning is as a tool
- Leave extra slack - When running cabling leave a lot more slack than required (This was a critical learning for my Home Automation Install)
- Plastering is significantly more difficult than it looks!
- Author

- Name
- Ben Hewston